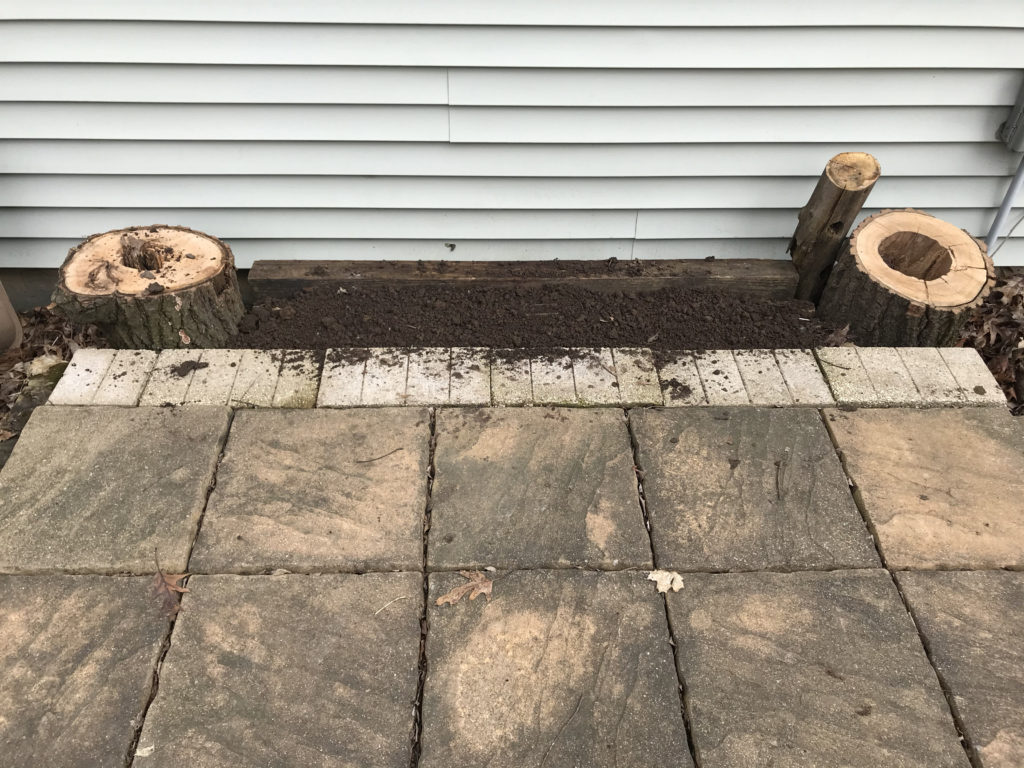
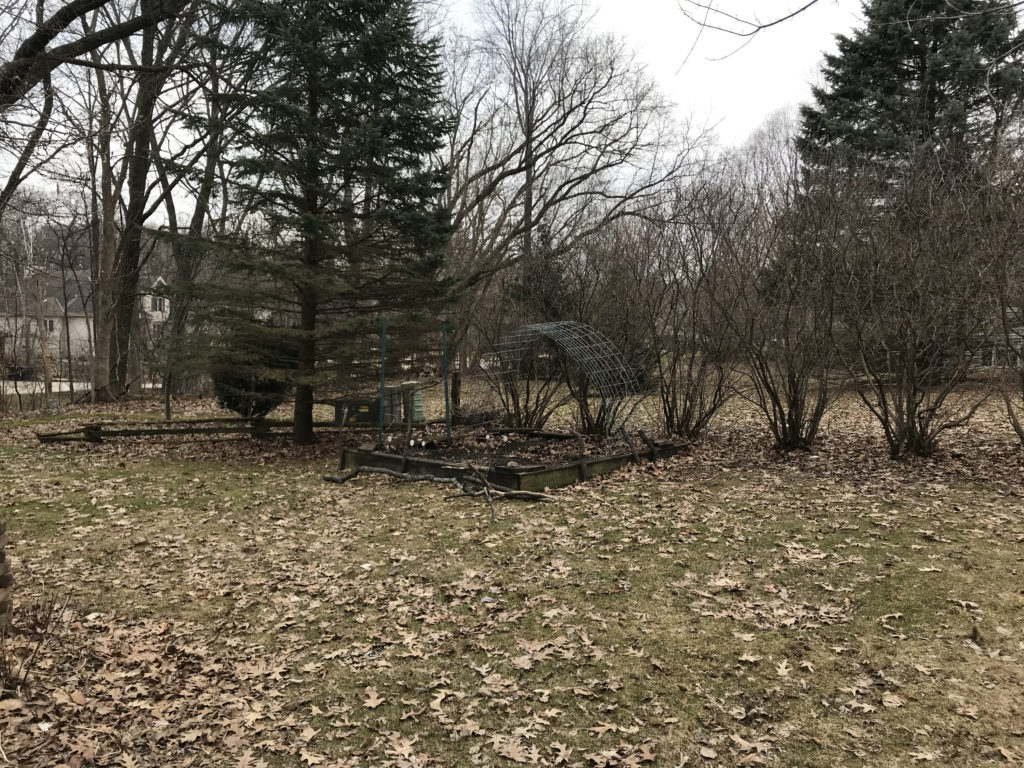
Yesterday I hauled some dirt and logs to create a new garden area. I think tomatoes may grow well here. I found some extra windows in the basement. I hope to lay them over the dirt and create a mini greenhouse.
Yesterday I hauled some dirt and logs to create a new garden area. I think tomatoes may grow well here. I found some extra windows in the basement. I hope to lay them over the dirt and create a mini greenhouse.

in the wake of covid-19, i’ve been practicing social distancing and going out in public less and less for a several weeks now. since last friday, march 20, I stopped going into public places.
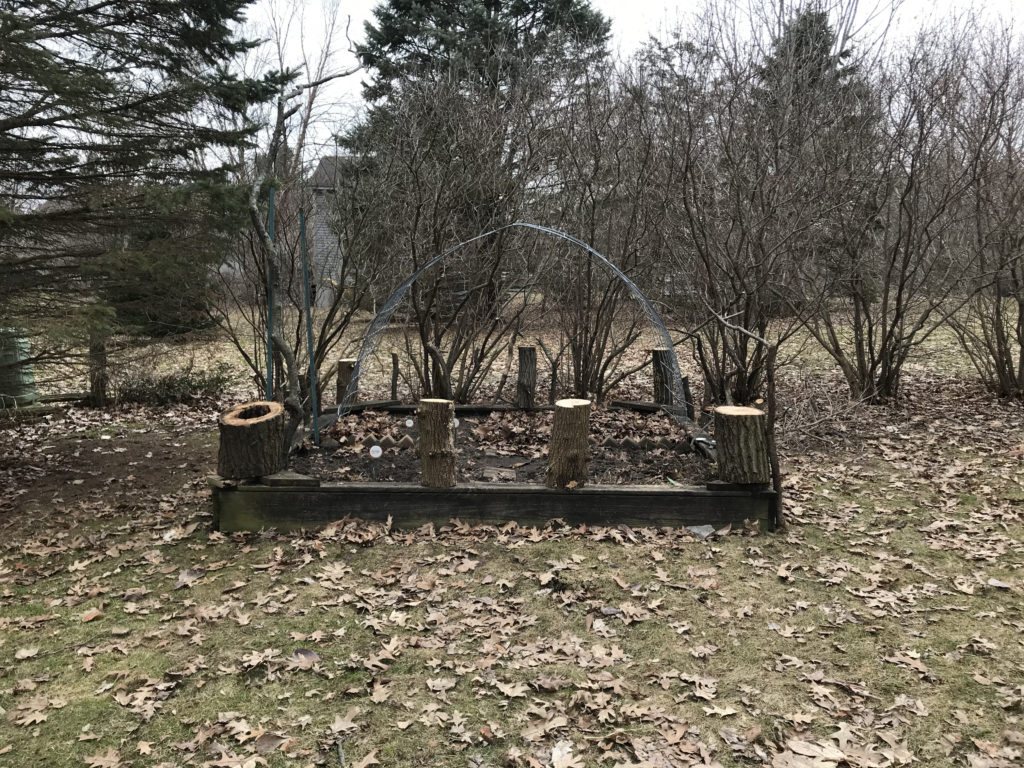
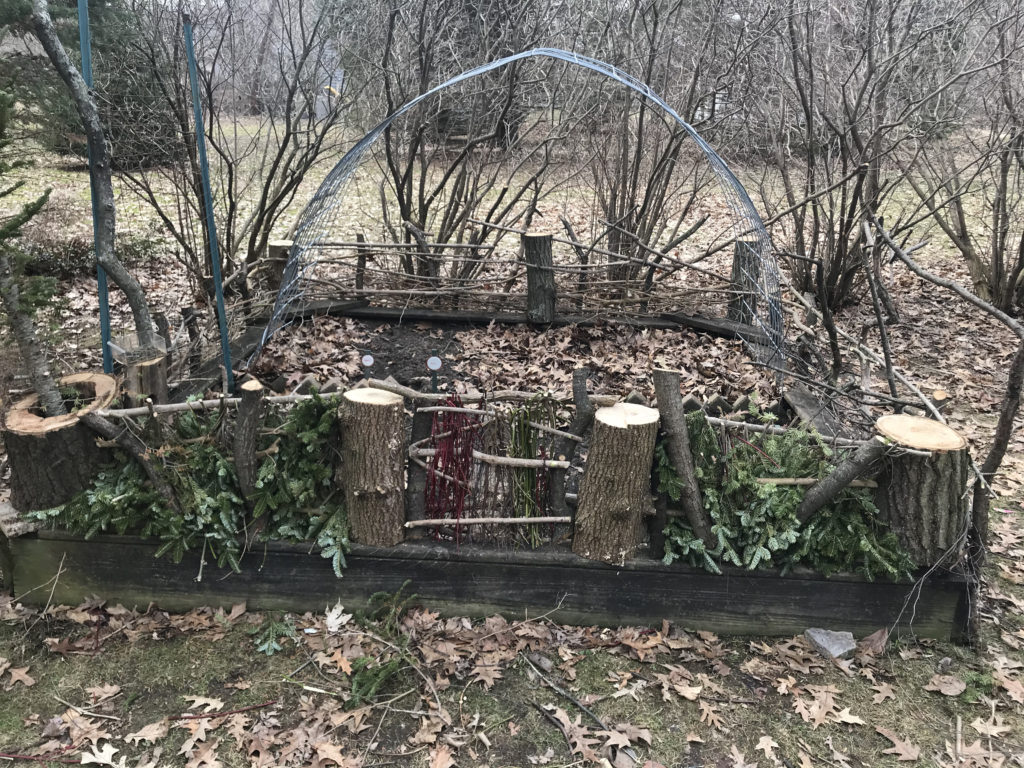
wanting to build a fence for my garden, i considered curbside pick up or walking into the hardware store to get some fencing, wood, and soil, but decided not to. I wondered if I could find what I needed at home.
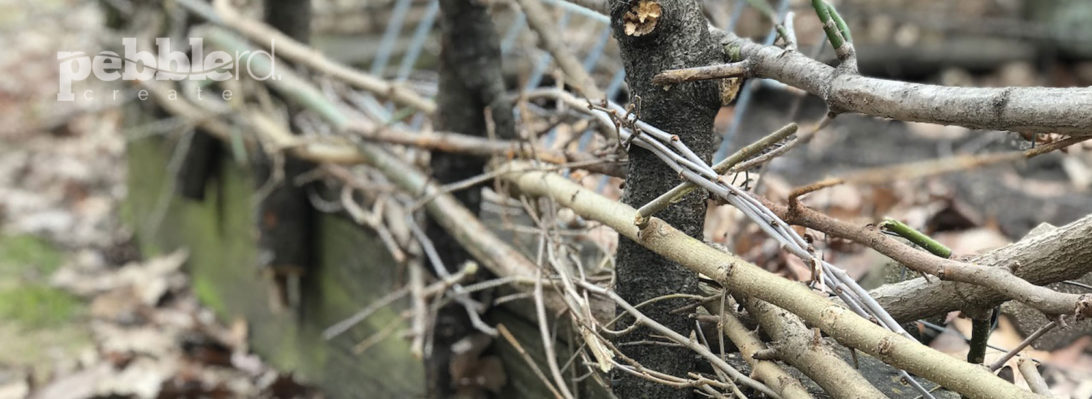
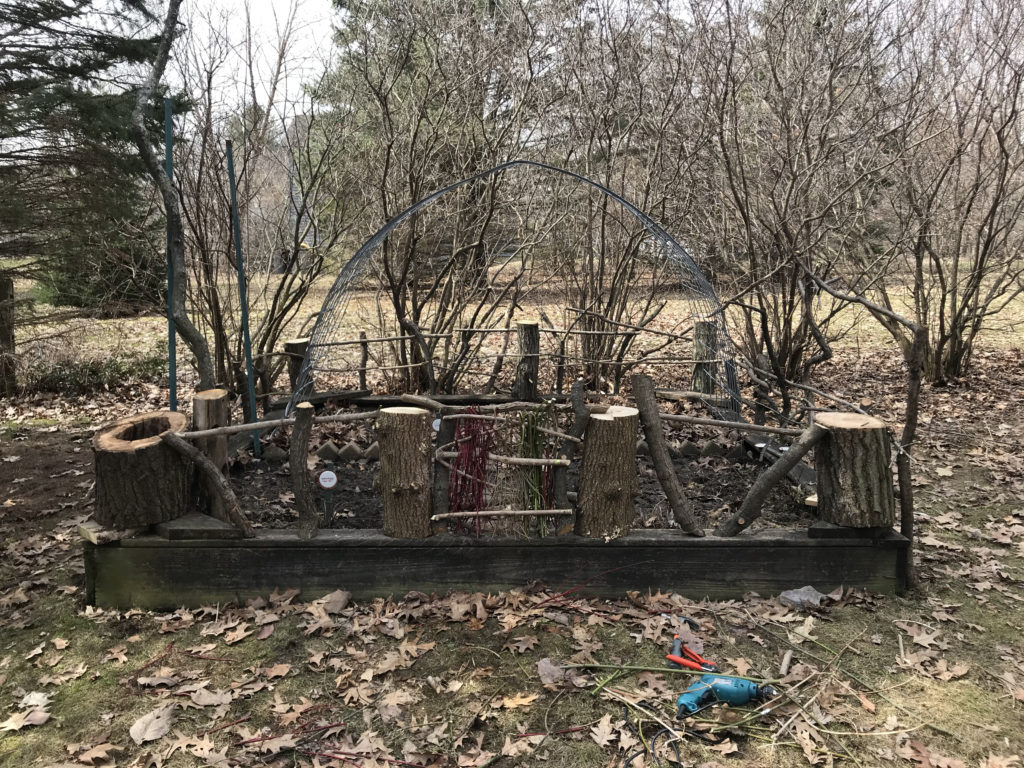
I was lucky that a large tree was cut down in the lot next door–fenceposts ready to go! digging in the basement, i found nails, the drill, and extension chord. a couple tree trimming tools and i was ready to build.
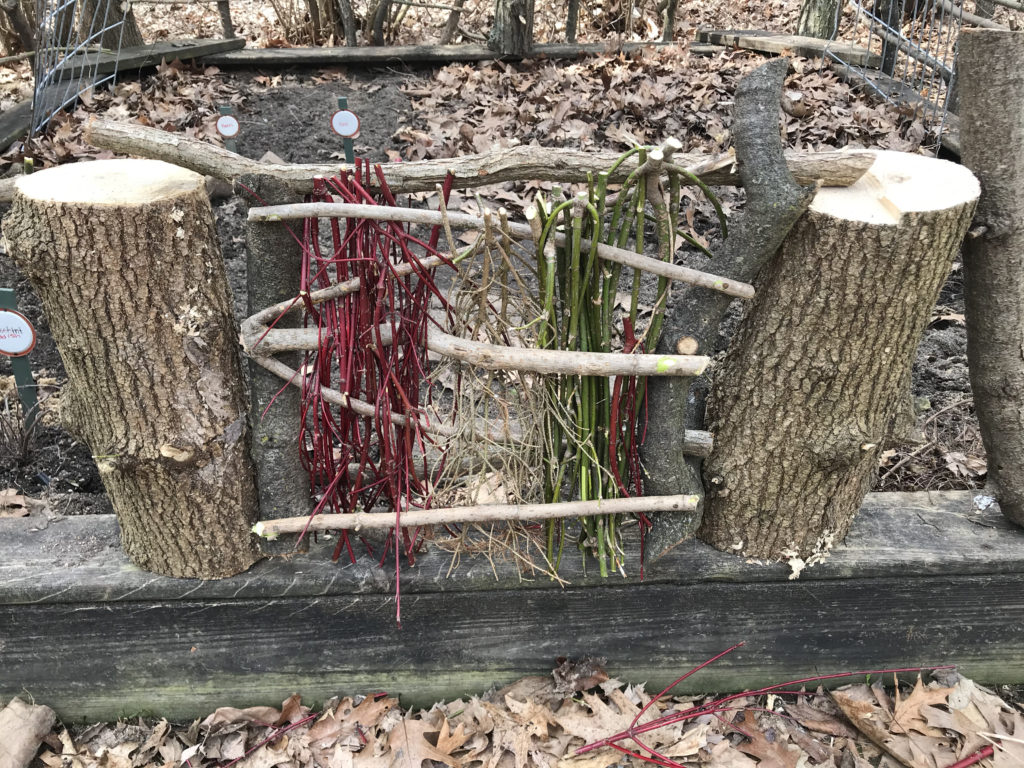
i made it up as I went along. it was definitely a creative process. what sticks fit where? what makes a good corner post? what can I do with this log that a woodpecker pecked holes into?
the best part? i was so absorbed in creating and thinking that i could forget about all the sadness around me.

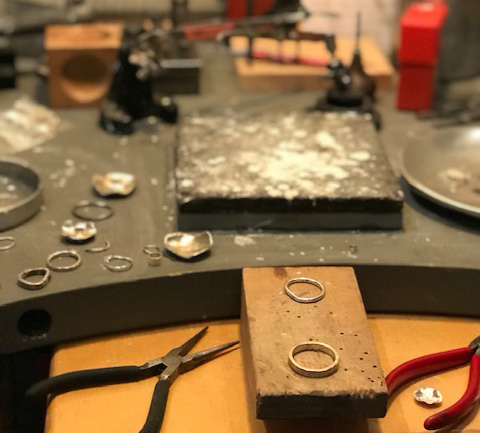
i spent a few days at the bench and finished five more pieces. it’s unbelievable how much time it takes to make each piece. i can spend hours in my shop.


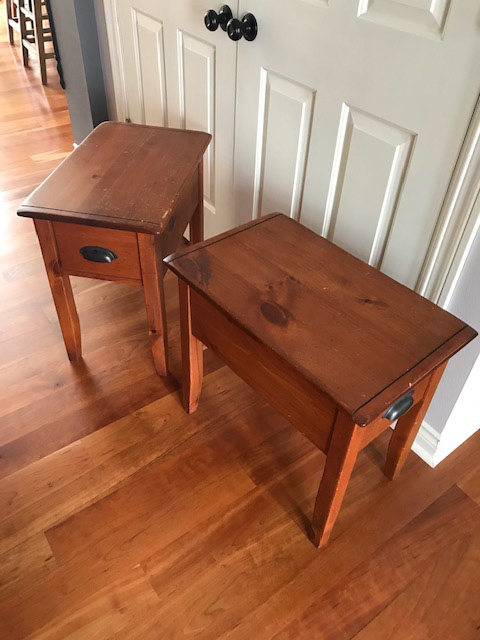
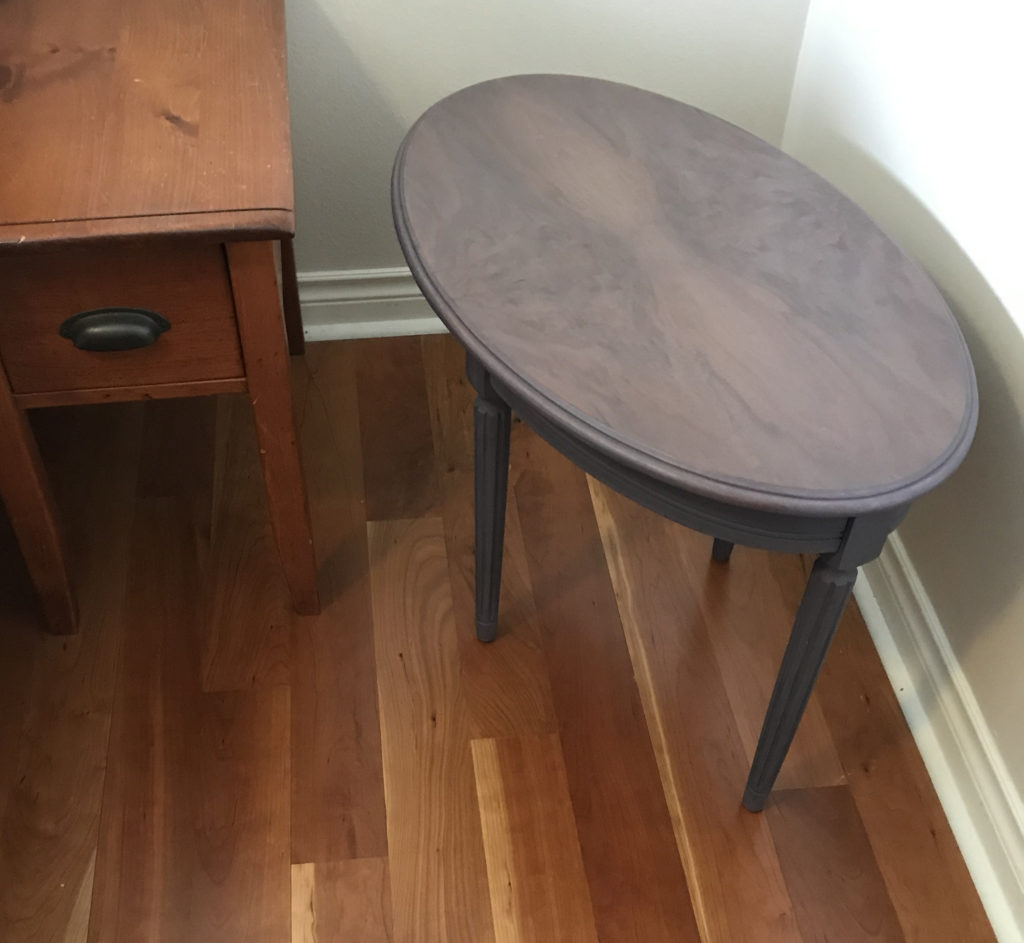
These tables were twenty years old, scratched and much darker than I wanted. Being solid wood, I was able to sand the tops. In the end, I’d like to see the wood grain.
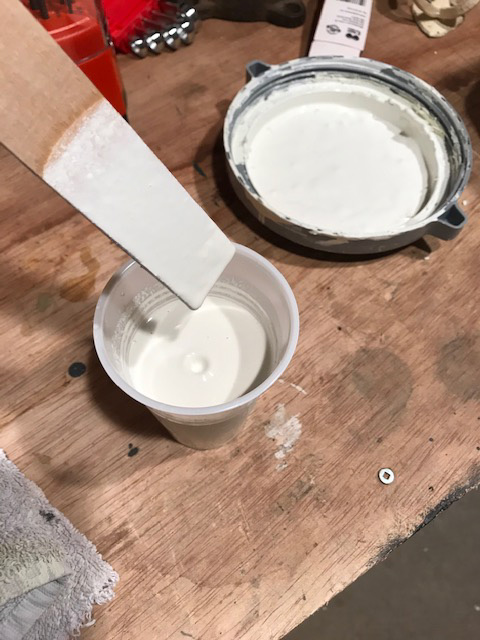
Homemade chalk paint worked easily on the lower parts. I always wash with trisodium phosphate to remove dirt and grease, rinse well and let dry before painting. Here is a recipe from Lowes. Basically, mix 1/3 cup of Plaster of Paris and 1/3 cup of cool water; stir until completely smooth. Mix that with 1 cup of latex paint and stir thoroughly. This will make enough chalk-finish paint for one coat on a six-drawer dresser.
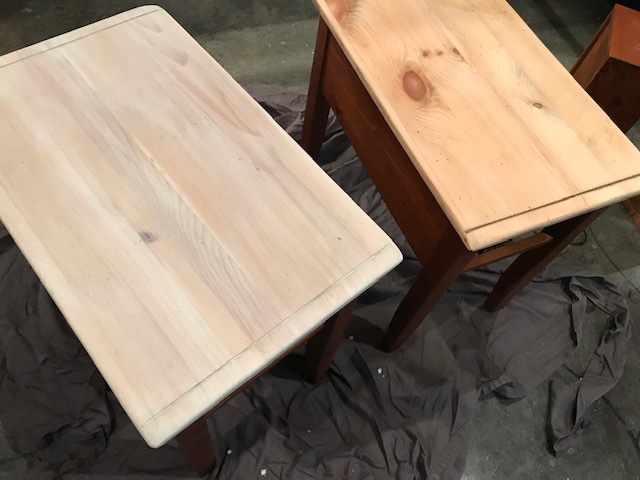
Once that was done, I watered down some of the chalk paint until it was as thin as milk. I used this thin was as a stain for the top. Depending on how thin your stain is determines how many coats you want. Just keep adding layers of stain if you want more color or create a thicker stain.
After drying for a couple days, I rubbed and buffed 3-4 coats of Minwax Paste Finishing Wax. One might think that an acrylic polyurethane would work well, but it didn’t for me. Although all instructions and research indicated it was safe, the surface of my dining room table had to be refinished because the acrylic polyurethane made the chalk paint bubble and peel off! After that, I never used anything but wax. Rub the wax on generously and leave for ten minutes. Buff. Repeat 2-3 more times.

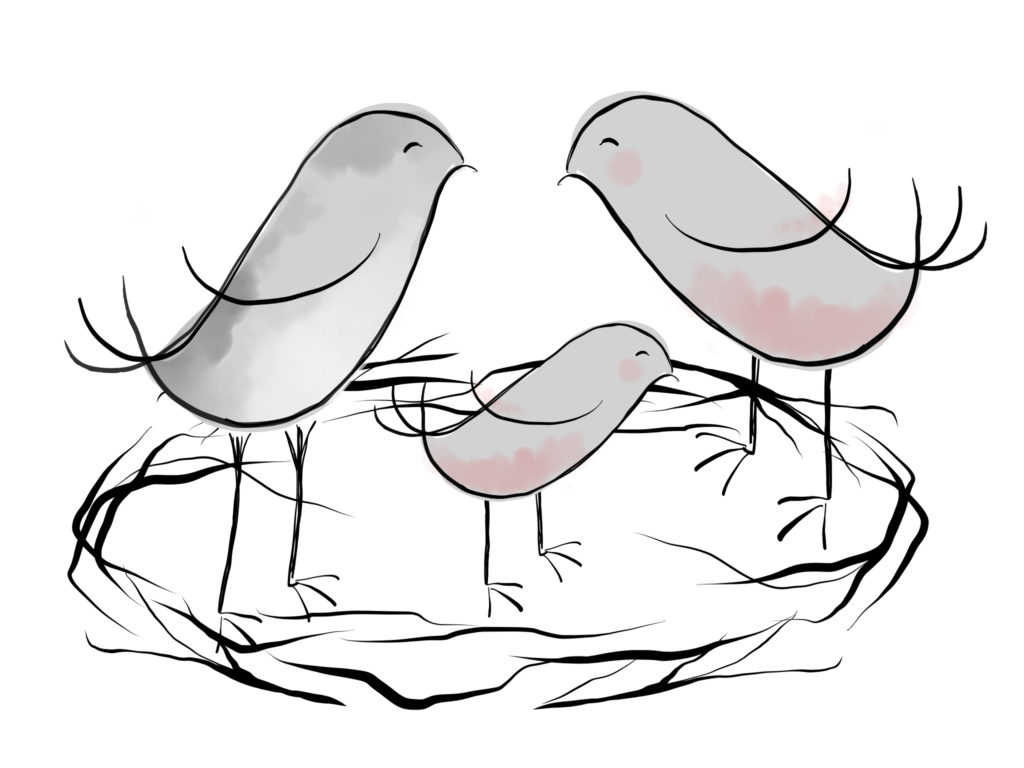
I’m excited about this little guy… it took some work to make him look happy with a beak. He needs a little more work, but I’m happy with how he’s developed.

for several months, my family and I have been struggling with news that my sister has pancreatic cancer. it’s devastating. we cling to hope.
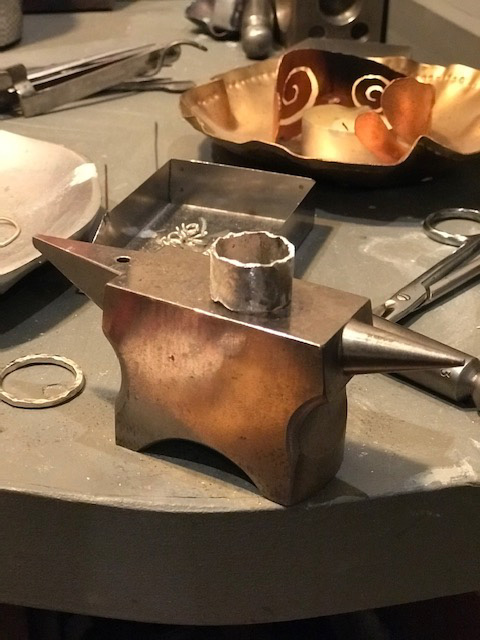
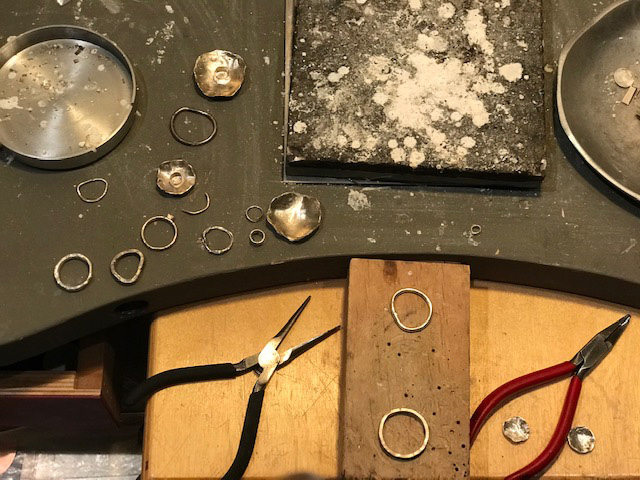
a few weeks ago, i was on a mission in my studio. i started to make c hearts. (cathy hearts) it was a strong desire to have something to hold… hold the hope, hold the heart, hold my sister. that day, i spent 7 hours straight sawing, filing, hammering, soldering and polishing.


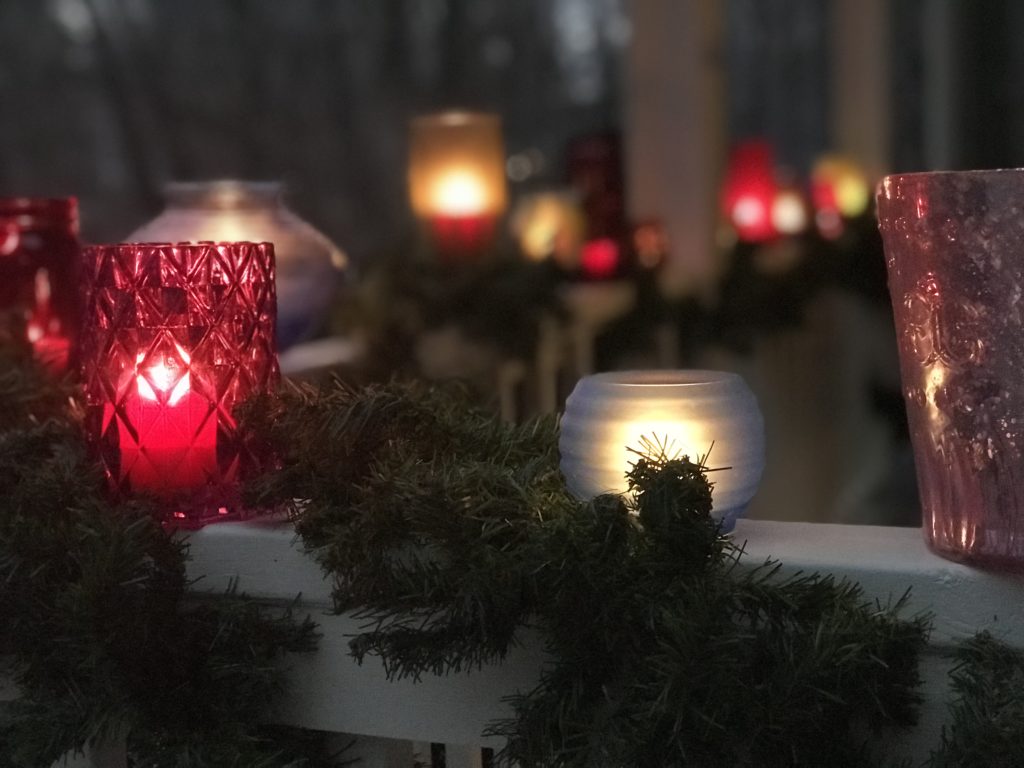
I pulled out the strings of holiday lights only to find out that some were chewed by critters. I did not want to purchase another string of lights–and condone adding more plastics to our world.
Looking through the house I found a number of vases, jars, and candle holders. I went to St. Vinneys to get a few more along with orphaned candle stubs. The candles I found at Vinney’s were knicked, ugly, and some were used. But it didn’t matter. They were perfect for my holiday lights. I gave them purpose.
I lined them up on the porch railing and burned the candles for a few hours each night. Beautiful!