painted wood?

partially stained and partially painted white
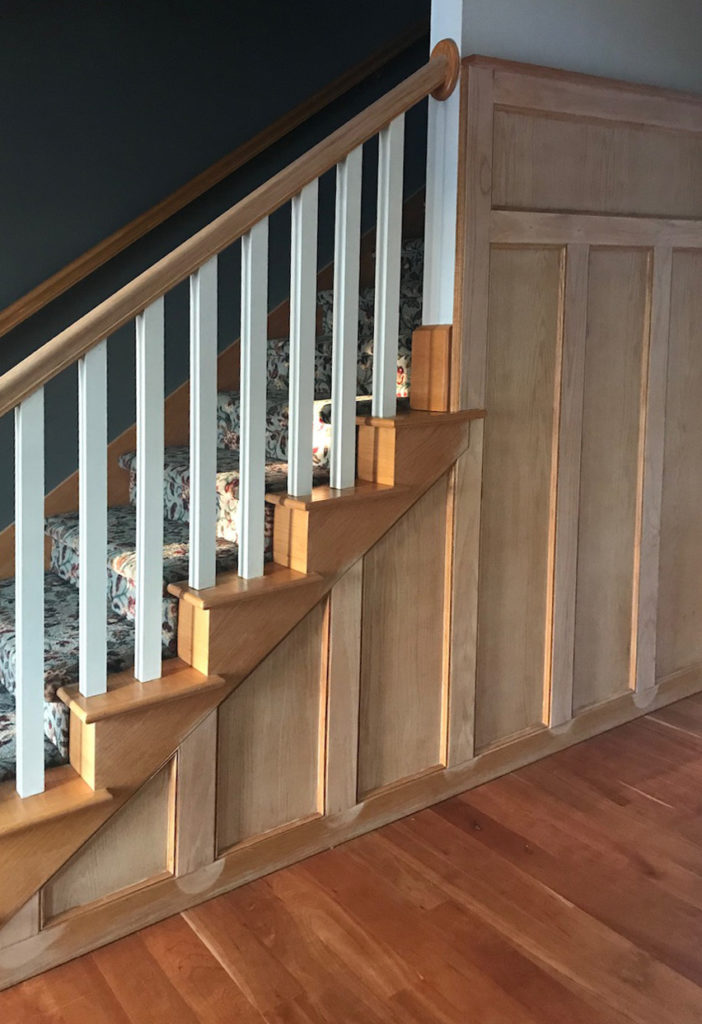
stairs with wood clearly from the 90's - that yellowy oak.

My old house had tons of woodwork that I never would have painted. Big thick baseboards, doors, pocket doors, and a pantry all had original stain and aging. But what about a newer house with wood from the 90’s?

I felt like it was dated.

The tile was replaced with cherry shortly after we moved in. I didn’t feel like the oak, no matter how I stained it, would look good next to the cherry. And I’ve always loved white painted wood. Still feeling guilty about painted the wood, I decided to meet half way and stain the wood white.
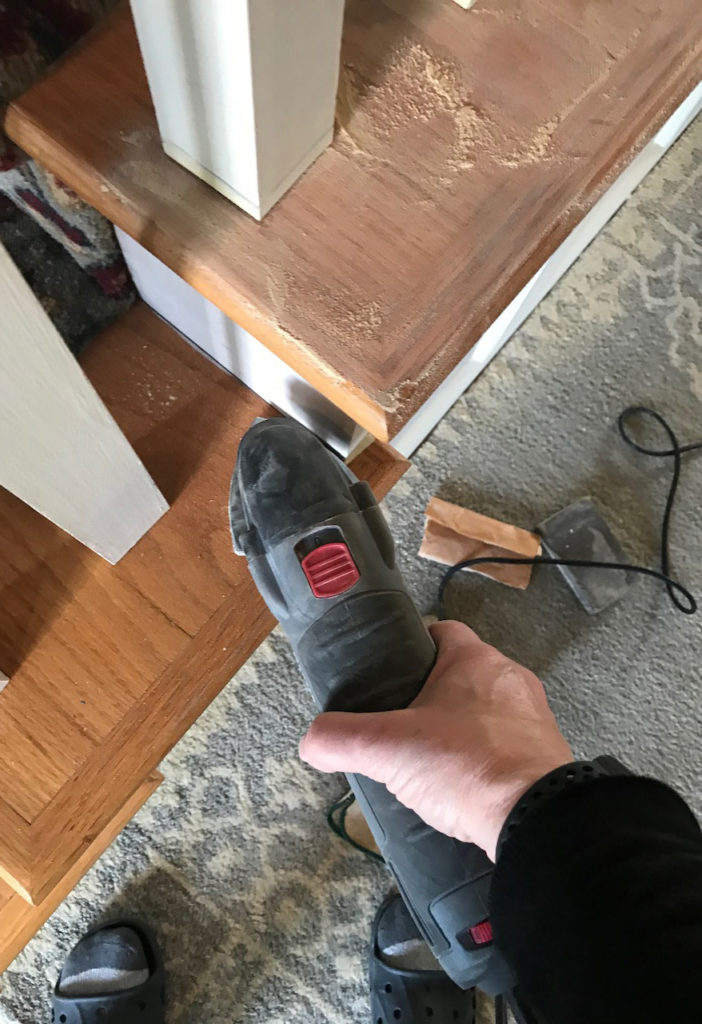
I screened off the hallway with plastic sheeting to contain the dust and used a rotary sander for most of it. Stripper did not seem like an option. I know myself well enough that I would not be able to keep the stripper off the nicely finished floors. I protected the floors with an old rug while sanding.

sanding

Between the rotary sander and the corner sander shown below, it only took about four hours to sand.
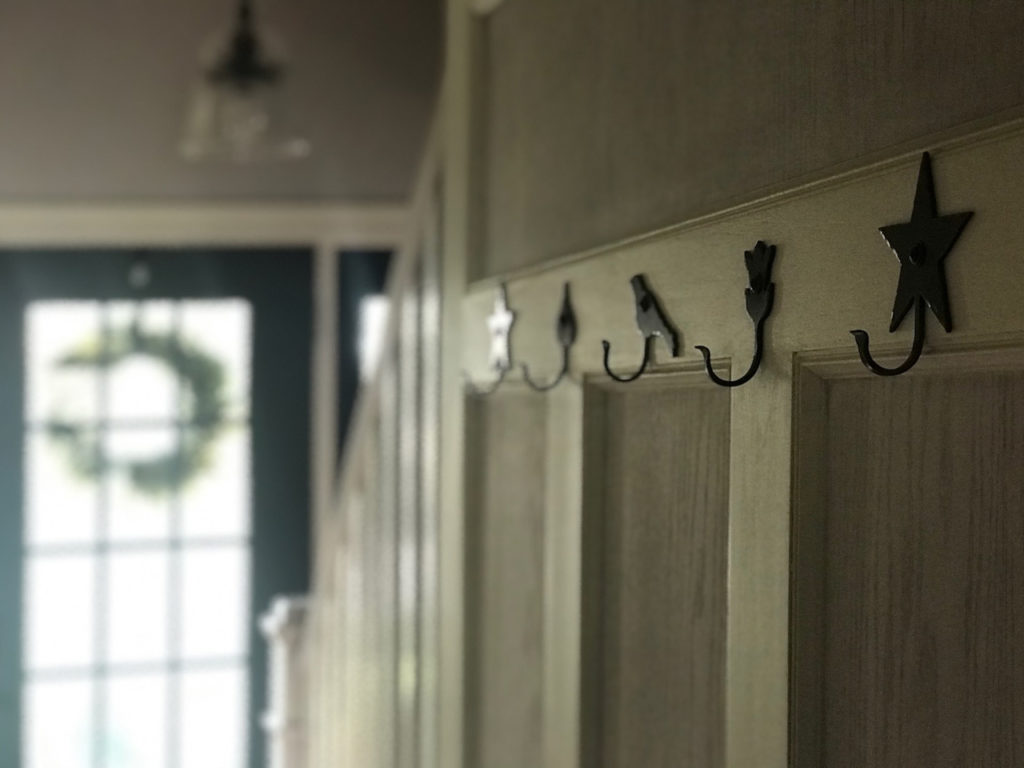
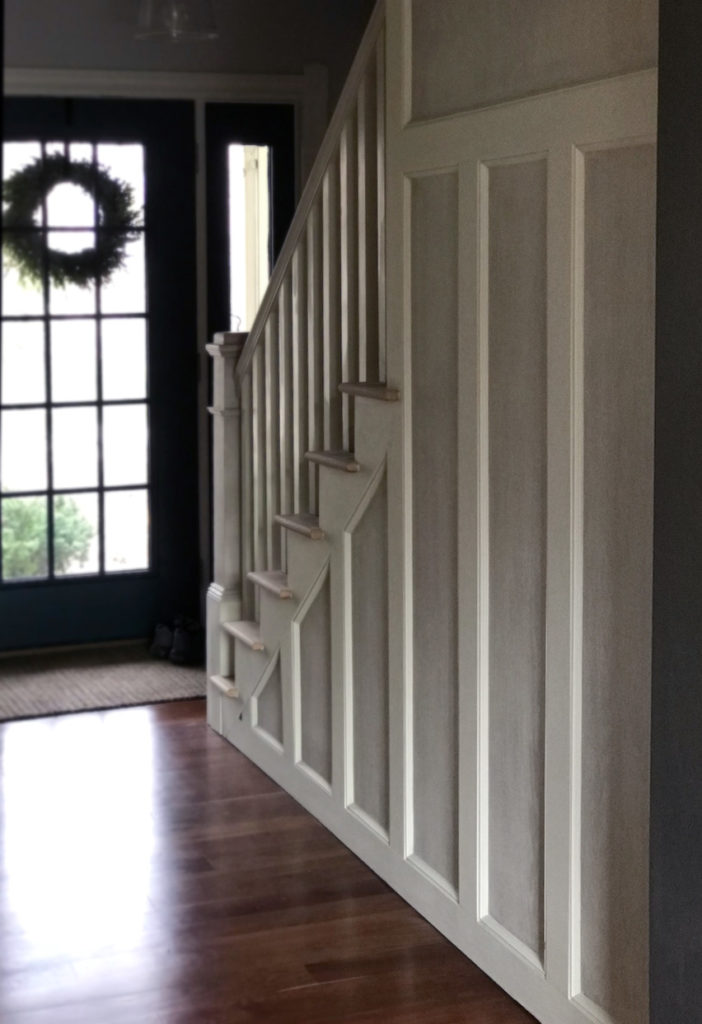
It took me a while to decide if all of it should be stained or just part of it. I started with a thin mixture of paint, plaster of paris and water. I worked in layers until I was happy with the color. The first few coats left a pinkish hue. 3-4 coats made it white, and the wood grain shows through as I wanted. The main boards were painted solid white. It was still a chalk paint mixture, but less water. Two coats of paint and several coats of Minwax Paste Finishing Wax should hold up to the traffic of the entryway.

This job isn’t done yet! We are still debating: do we replace the steps with cherry? Or sand the oak stairs and replace carpeting?
to be continued…
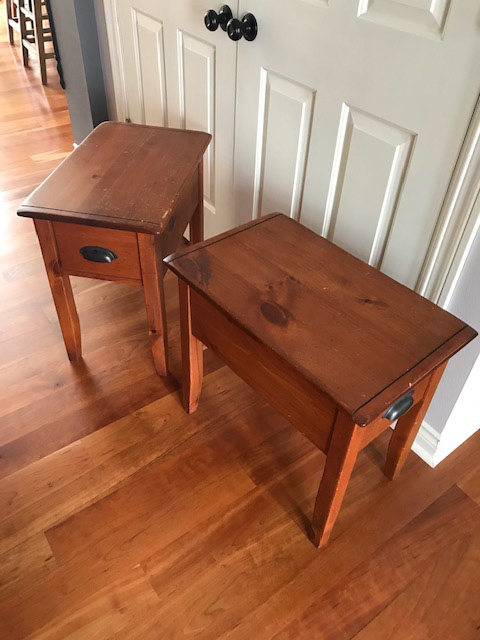
side tables : update

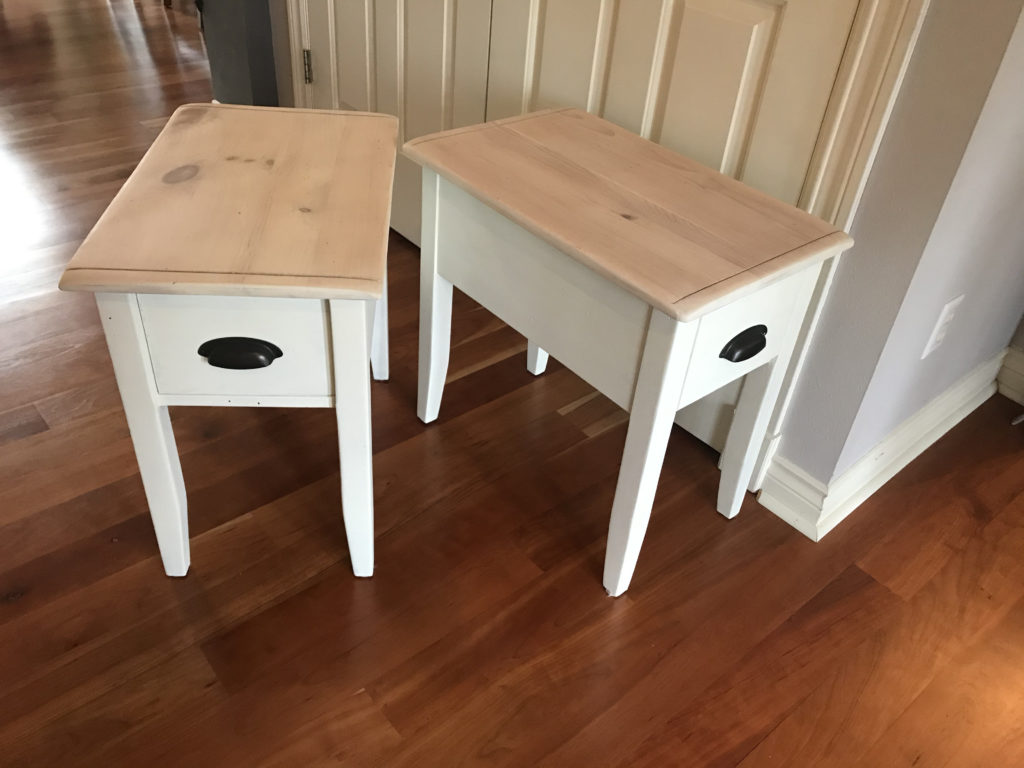
These tables were twenty years old, scratched and much darker than I wanted. Being solid wood, I was able to sand the tops. In the end, I’d like to see the wood grain.

Homemade chalk paint worked easily on the lower parts. I always wash with trisodium phosphate to remove dirt and grease, rinse well and let dry before painting. Here is a recipe from Lowes. Basically, mix 1/3 cup of Plaster of Paris and 1/3 cup of cool water; stir until completely smooth. Mix that with 1 cup of latex paint and stir thoroughly. This will make enough chalk-finish paint for one coat on a six-drawer dresser.

Once that was done, I watered down some of the chalk paint until it was as thin as milk. I used this thin was as a stain for the top. Depending on how thin your stain is determines how many coats you want. Just keep adding layers of stain if you want more color or create a thicker stain.

After drying for a couple days, I rubbed and buffed 3-4 coats of Minwax Paste Finishing Wax. One might think that an acrylic polyurethane would work well, but it didn’t for me. Although all instructions and research indicated it was safe, the surface of my dining room table had to be refinished because the acrylic polyurethane made the chalk paint bubble and peel off! After that, I never used anything but wax. Rub the wax on generously and leave for ten minutes. Buff. Repeat 2-3 more times.

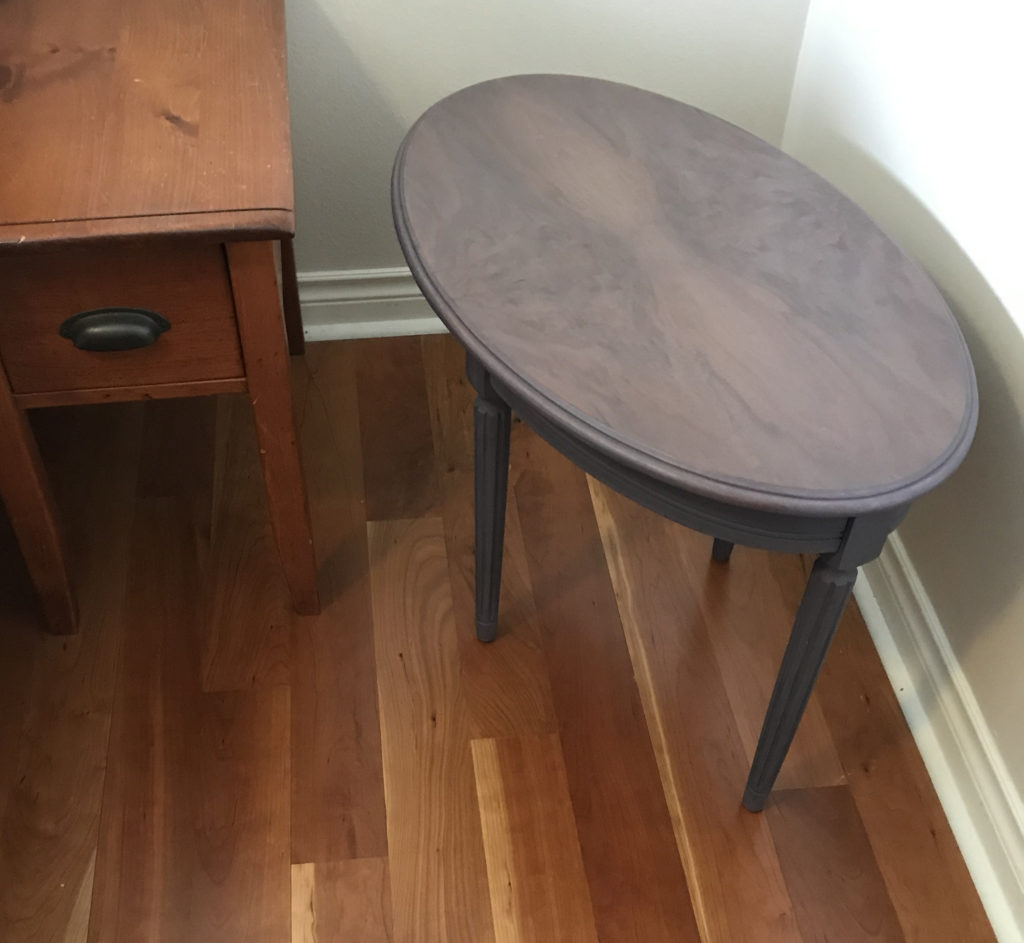
This small oval table was found at St. Vincent DePauls. One leg was wobbly and the top had many water stains. But the wood grain was beautiful. I really like how the purple/gray paint looks, especially with the wood grain.

holiday lights

I pulled out the strings of holiday lights only to find out that some were chewed by critters. I did not want to purchase another string of lights–and condone adding more plastics to our world.

Looking through the house I found a number of vases, jars, and candle holders. I went to St. Vinneys to get a few more along with orphaned candle stubs. The candles I found at Vinney’s were knicked, ugly, and some were used. But it didn’t matter. They were perfect for my holiday lights. I gave them purpose.

I lined them up on the porch railing and burned the candles for a few hours each night. Beautiful!